You can contact us 24/7 via our Support team
€0.00
Best discounts this week for your next hits
Shattayard – Dancehall Shatta VST
All Blog Posts
Cart
Products
-
- Loops & SamplesAfro, Afrobeat, Afrobeats, Afrofusion, Afrosoul
-
- Loops & SamplesDancehall, R&B
Rated 4.50 out of 5€25.26 -
- PluginsGouyad, Kompa, Kompafro
Rated 4.21 out of 5€0.00 – €42.11Price range: €0.00 through €42.11 -
- Loops & Samples
Recent reviews
-
 Gems
Rated 5 out of 5by jules Beatmaker
 -
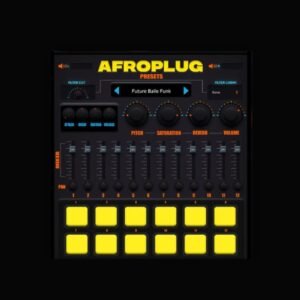 Afroplugin - Drum VST
Rated 5 out of 5by Franklyn E.
 -
 Shattayard – Dancehall Shatta VST
Rated 5 out of 5by B Sounds
 -
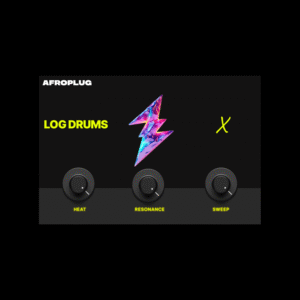 Log Drums X
Rated 5 out of 5by Dickson Albert
Amapiano, a subgenre of house music that emerged from South Africa, has taken the world by storm with its infectious rhythms, smooth piano melodies, and deep basslines.
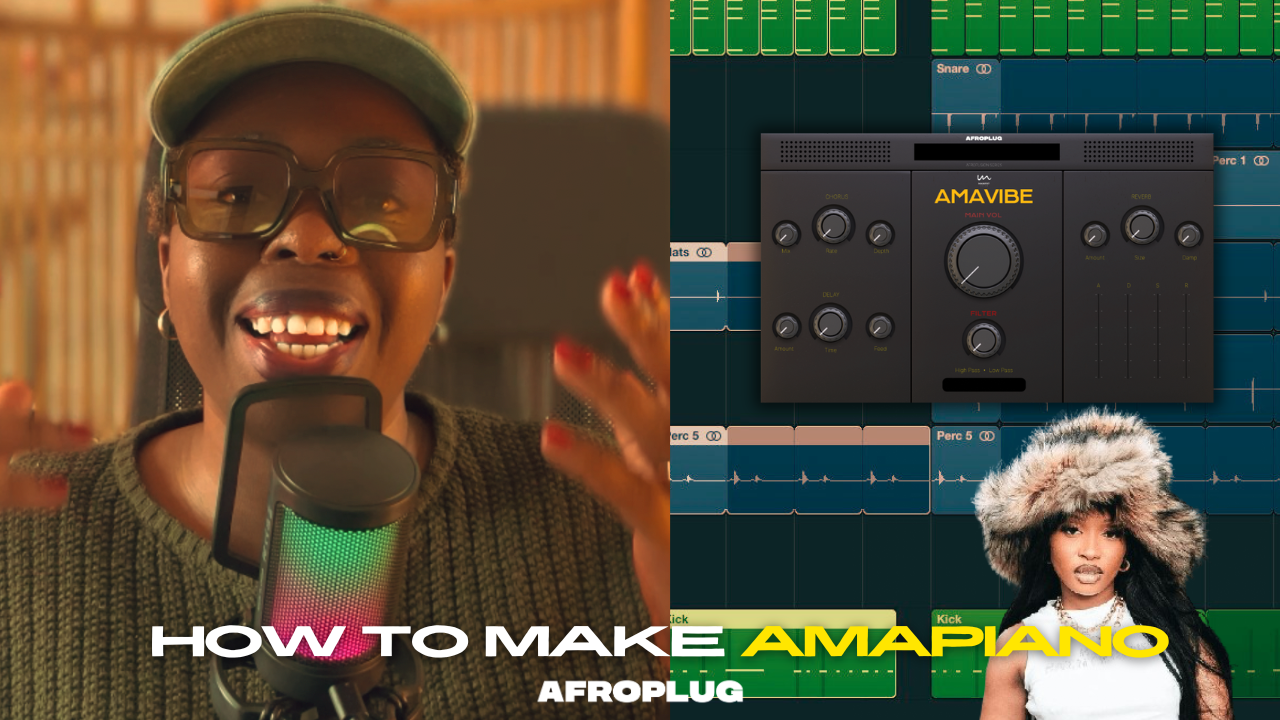
Whether you’re a seasoned producer or just starting out, our free VST plugin, Amavibe, can help you create authentic Amapiano tracks with ease.
In this blog post, we’ll guide you through the process of producing Amapiano using Amavibe, covering everything from installation to creating your first track.
Step 1: Download and Install Amavibe
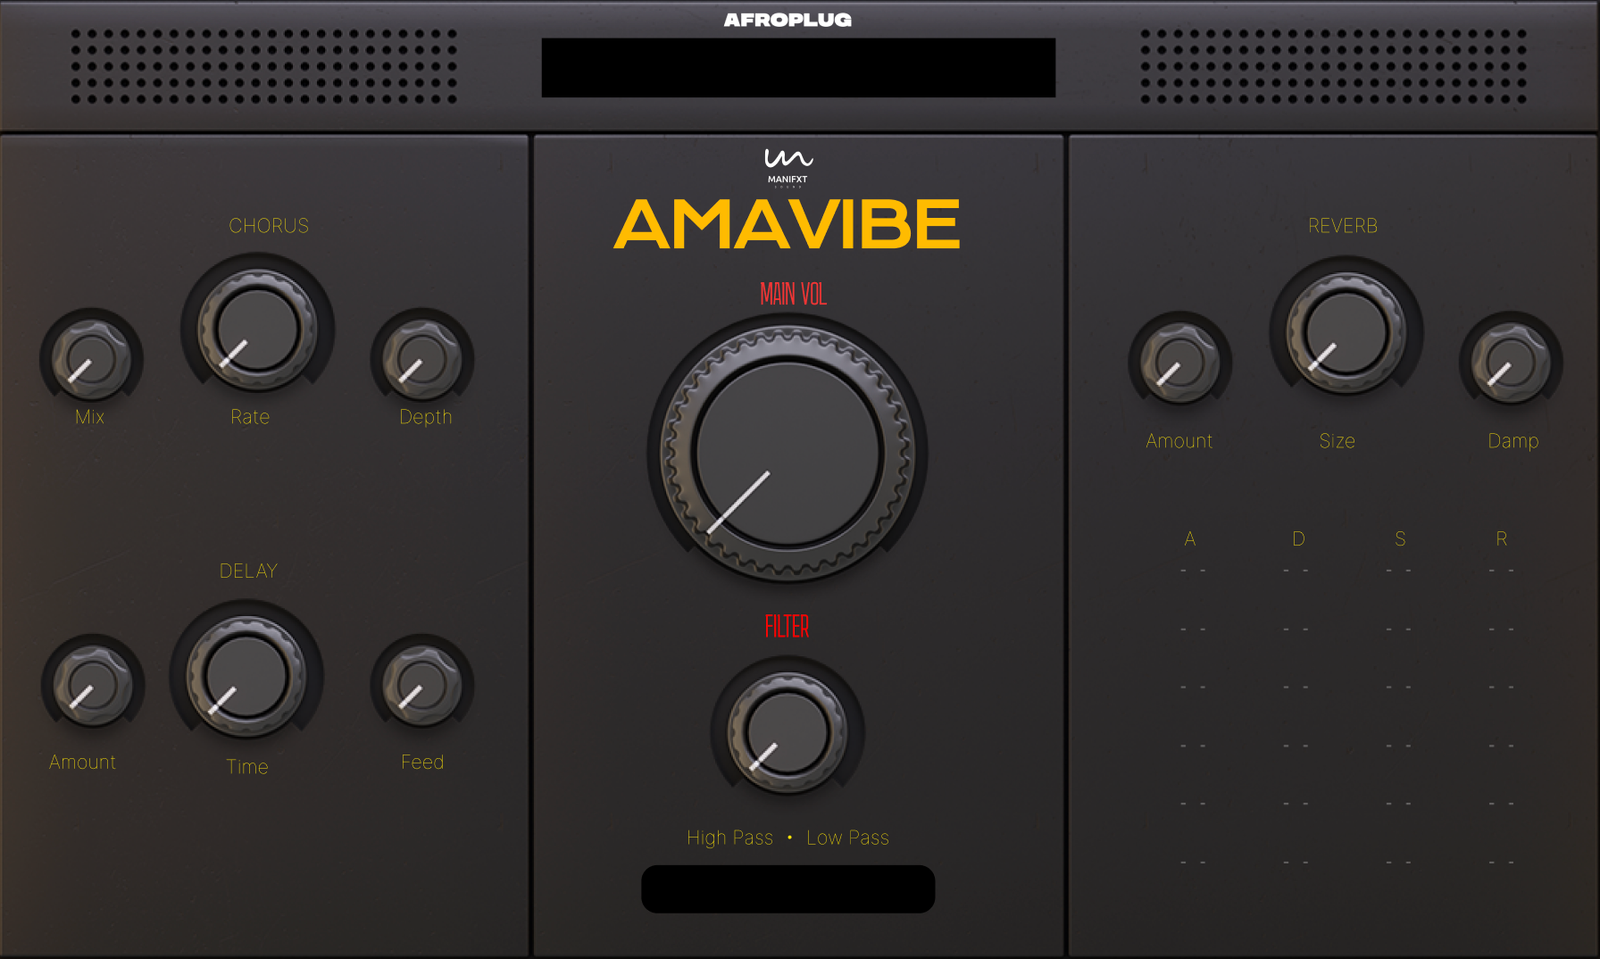
First things first, you’ll need to download our free Amavibe VST plugin. Follow these simple steps to get started:
- Download Amavibe: Visit our website and download the Amavibe plugin for your DAW (Digital Audio Workstation). We support both Windows and macOS.
- Install the Plugin: Follow the installation instructions provided in the download package. Ensure that your DAW recognizes the new plugin.
Step 2: Setting Up Amavibe in Your DAW
Once you have installed Amavibe, it’s time to set it up in your DAW:
- Open Your DAW: Launch your preferred DAW (e.g., FL Studio, Ableton Live, Logic Pro, etc.).
- Load Amavibe: Insert Amavibe as a new instrument track. In most DAWs, you can do this by selecting ‘Add New Instrument’ and choosing Amavibe from the list of available plugins.
- Select a Preset: Amavibe comes with a variety of presets designed to capture the essence of Amapiano. Browse through the presets and select one that resonates with the vibe you’re aiming for.
Step 3: Crafting the Signature Amapiano Sound
1. Piano Melodies
Amapiano is known for its lush, jazzy piano melodies. Here’s how to create them:
- Choose a Piano Sound: Within Amavibe, select a piano preset that suits your track.
- Play with Chords: Experiment with different chord progressions. Amapiano often uses major and minor chords with added sevenths and ninths for a richer sound.
- Add Melodic Variations: Introduce melodic variations and embellishments to keep the listener engaged.
2. Basslines
The bassline is a crucial element in Amapiano, providing the track’s groove and depth:
- Select a Bass Preset: Amavibe includes several bass presets that are perfect for Amapiano.
- Program the Bassline: Create a bassline that complements your piano melody. Amapiano basslines often feature syncopated rhythms and slides.
3. Drums and Percussion
Amapiano’s drum patterns are distinctive and highly rhythmic:
- Load Drum Samples: Amavibe offers a range of drum samples, including kicks, snares, hi-hats, and percussive elements.
- Create a Drum Pattern: Program a drum pattern with a laid-back yet driving rhythm. Use shakers, claps, and congas to add texture and complexity.
- Swing and Groove: Apply swing and groove to your drum patterns to achieve that authentic Amapiano feel.
4. Atmospheric Elements
To give your track more depth and ambiance, add atmospheric elements:
- Use Pads and Synths: Amavibe includes pad and synth presets that can be used to create lush backgrounds.
- Incorporate Sound Effects: Add subtle sound effects like reverb, delay, and white noise to enhance the atmosphere.
Step 4: Arranging Your Track
With your core elements in place, it’s time to arrange your track:
- Intro: Start with an atmospheric intro, gradually introducing elements like the piano melody and drums.
- Build-Up: Create a build-up by adding layers and increasing the intensity of your elements.
- Drop: The drop is where your track reaches its peak energy. Focus on the bassline and drums to make this section impactful.
- Breakdown: After the drop, bring down the energy with a breakdown, reintroducing the melodic elements.
- Outro: End your track with an outro that smoothly transitions out of the main groove.
Step 5: Mixing and Mastering
To ensure your track sounds professional, follow these mixing and mastering tips:
- Balance Levels: Make sure all elements are balanced in the mix. Pay attention to the volume levels of the piano, bass, and drums.
- EQ and Compression: Use EQ to carve out space for each element and compression to control dynamics.
- Add Effects: Apply reverb and delay to add depth and space to your track.
- Master Your Track: Finally, master your track to ensure it sounds polished and cohesive across all playback systems.
Conclusion
Producing Amapiano with Amavibe is a rewarding experience that allows you to explore the rich musical heritage of South Africa. With its user-friendly interface and high-quality presets, Amavibe makes it easy to create professional-sounding Amapiano tracks.
Download Amavibe today and start producing your own Amapiano hits! : Download here

